How to Publish your Flutter App on Windows - The Easy Way

J
I'm an engineer that loves JavaScript technologies and Linux, currently learning Go.
Search for a command to run...
I'm an engineer that loves JavaScript technologies and Linux, currently learning Go.
No comments yet. Be the first to comment.
NextShield + Clerk Example

NextShield + Supabase Example.

Get RBAC & Private Routes in your Next.js app with any auth provider using NextShield.

Learn how to create email templates with react and send them with SMTP.js

As you maybe already know, the flutter's 2.0 stable channel already integrates the feature of building apps for desktop, but it stills in beta, you have to consider that.
In this post, I'm going to show you how to generate the build for Windows and create an installer for your end-user to make his installation process easy as possible.
You only need two things installed in your system:
The installation of Flutter and Visual Studio won't be explained because it's beyond the scope of this post, but I'll show you the installation of InnoSetup because we are going to create the installer with it.
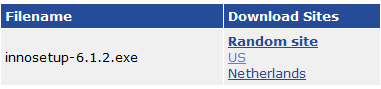
Then find this section and select a link in the Download Sites column:
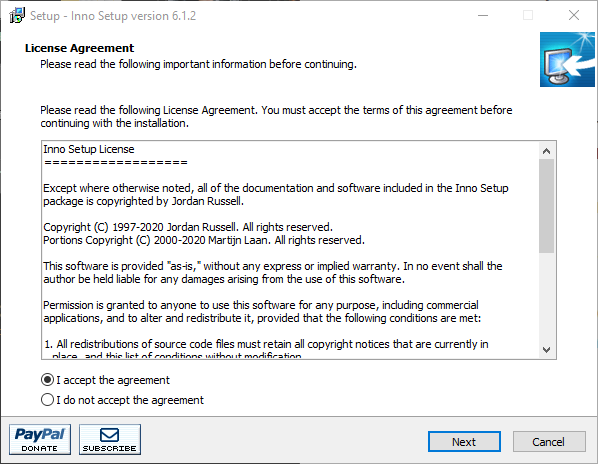
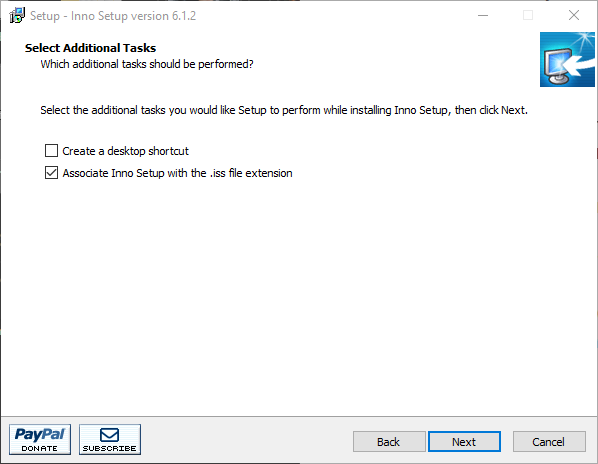
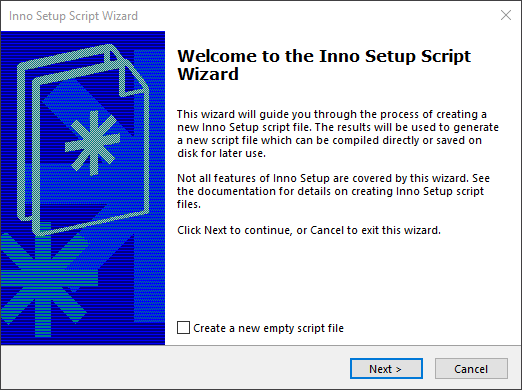
Execute the innosetup-x.y.z.exe file, as you can see is the classic installation process:
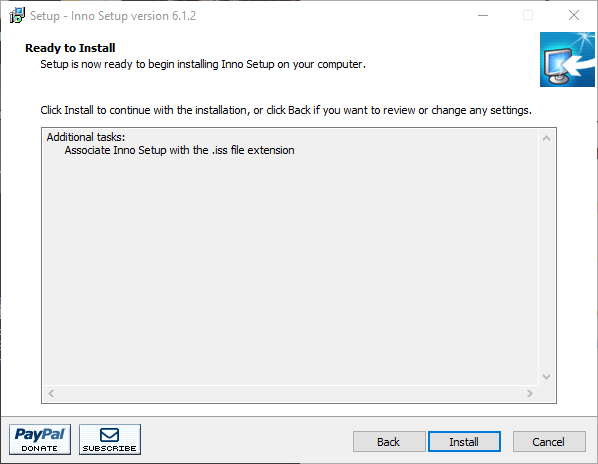
Congrats! You have InnoSetup installed! 🥳
First, you need to enable the desktop environment in flutter by writing the following in PowerShell:
PS > flutter config --enable-windows-desktop
After that you can check the connected devices by executing flutter devices, you should see Windows (desktop) in the list:
PS > flutter devices
1 connected device:

Windows (desktop) • windows • windows-x64 • Microsoft Windows [Version 10.0.18362.1082]
...
If you have problems you can execute flutter doctor to see what's wrong, but you should see something like this:
PS > flutter doctor
Doctor summary (to see all details, run flutter doctor -v):
[√] Flutter (Channel beta, 1.27.0-1.0.pre, on Microsoft Windows [Version 10.0.19042.782], locale en-AU)
[√] Android toolchain - develop for Android devices (Android SDK version 30.0.3)
[√] Chrome - develop for the web
[√] Visual Studio - develop for Windows (Visual Studio Community 2019 16.7.7)
[√] Android Studio (version 4.1.0)
[√] VS Code (version 1.51.1)
[√] Connected device (3 available)
If everything is ok, you can create a new project:
PS > flutter create windowsapp
Then go to the directory:
PS > cd windowsapp
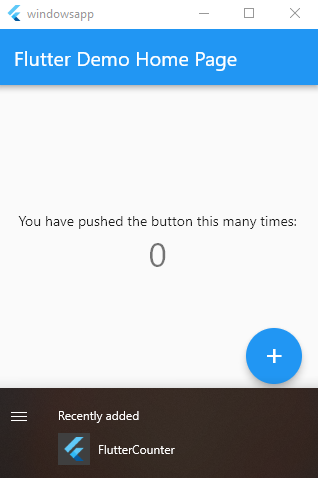
And execute the app 🤩:
PS > flutter run -d windows
Great you are running a flutter app on Windows 🥳🎊🎉!!!
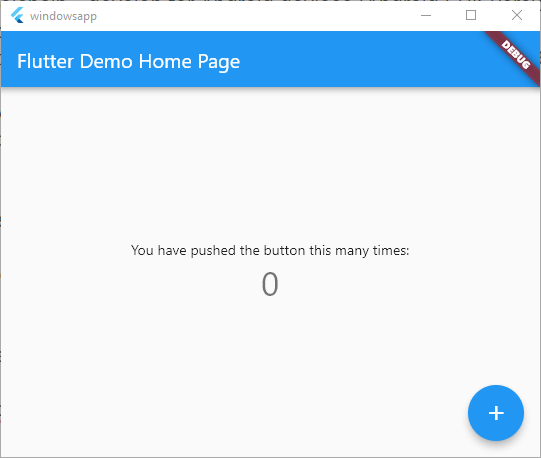
As easy as running a single command 🥰:
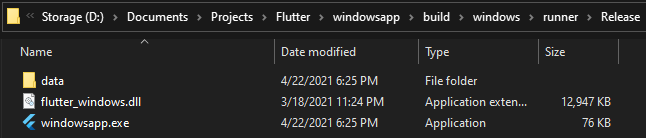
PS > flutter build windows
The build is located in build\windows\runner\Release\:
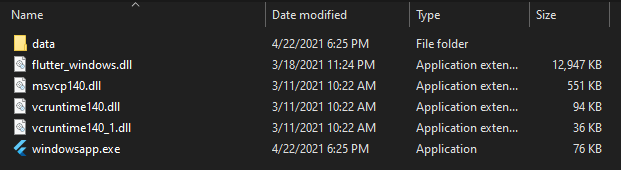
Now comes the interesting part and the hardest one, this is because you need to put some .dll files manually (🤮) and create your own installer.
So, you need to place 3 .dll files in the build folder, which are:
You must find them in the directory C:\Windows\System32. After you place these 3 files your build directory must look like this:
installer inside the build folder.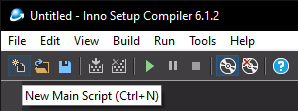
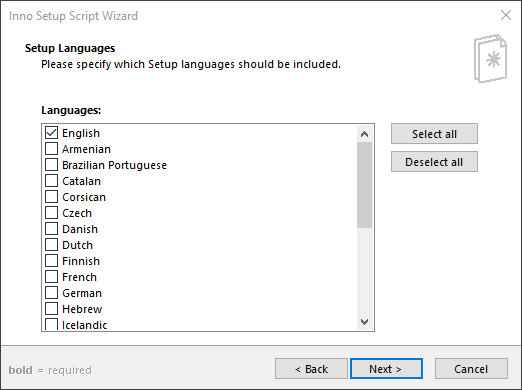
Browse... button and select the .exe file, then click the Add Folder... button and select the Release folder (build\windows\runner\Release\) which is the build folder, finally it will appear a message saying "Should files in subfolders also be included?" you must click Yes and then click on next: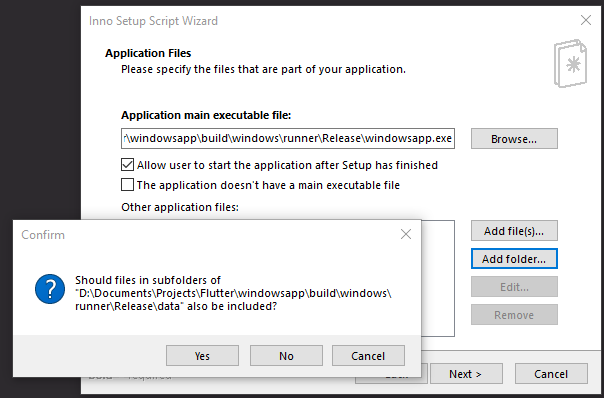
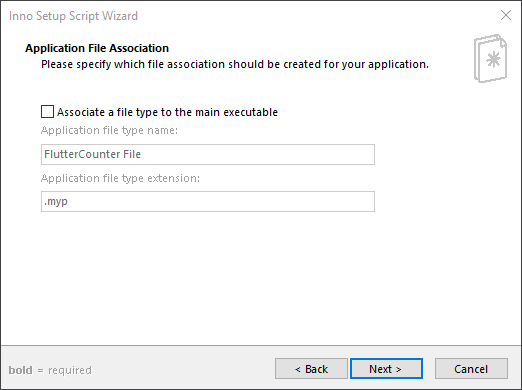
installer folder that we created. and the name of the file, you can add a custom icon and password: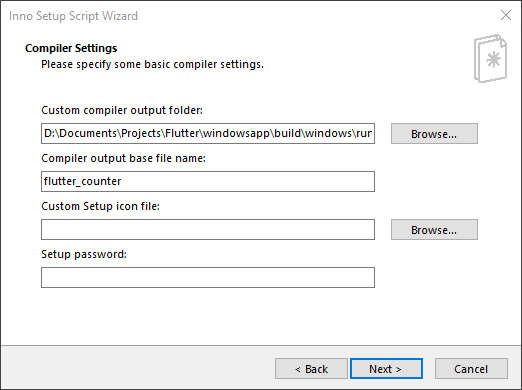
Finish and Yes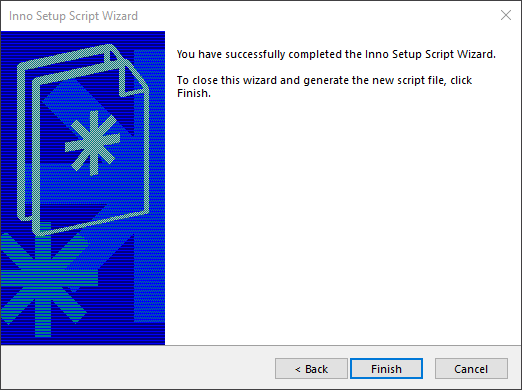

It will also ask you if you want to save the script, you can choose no if you want.
Finally, after a few seconds, you will see the installer in the installer folder:

Open the installer and you'll see a classic installation process, you just have to click next until is installed.
And BOOM 🤯, you got a successful installation of a Flutter App on Windows 🥰
Hope you enjoyed this tutorial, see you next time 🤗