RBAC & Private Routes in Next.js with Supabase using NextShield.
NextShield + Supabase Example.
I'm an engineer that loves JavaScript technologies and Linux, currently learning Go.
Hello everyone! Hope you liked the previous post. Today we are going to build a Supabase example with NextShield, so let's get started.

Create a new Supabase project.
Go to supabase website and click on "Start your project":

Sign in and click on "New Project":
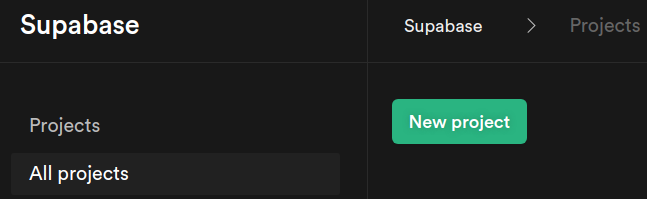
Fill the form and create the project:
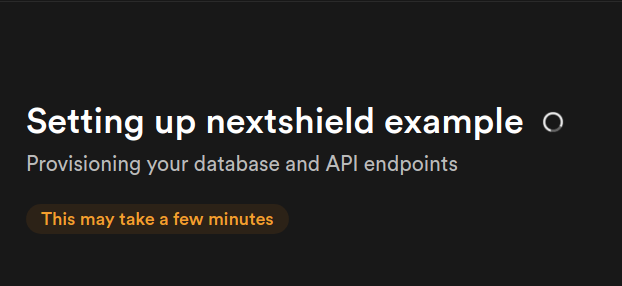
Wait until the project is created:
Configure Supabase.
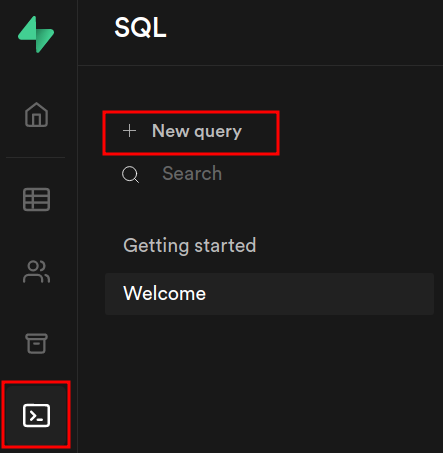
We need to configure supabase to satisfy our needs with RBAC, so go to the SQL menu and click on new query:
Create the profiles table:
create table public.profiles (
  id uuid references auth.users not null,
  role text,

  primary key (id)
);
And enable row level security to restrict the access:
alter table public.profiles enable row level security;
Then add the following policies to grant user access to their data:
create policy "Users can insert their own profile."
  on profiles for insert
  with check ( auth.uid() = id );

create policy "Users can update own profile."
  on profiles for update
  using ( auth.uid() = id );
Finally, create a trigger to insert a new record when a new user is created:
-- inserts a row into public.profiles
create function public.handle_new_user()
returns trigger
language plpgsql
security definer
as $$
begin
  insert into public.profiles (id, role)
  values (new.id, "EMPLOYEE");
  return new;
end;
$$;

-- trigger the function every time a user is created
create trigger on_auth_user_created
  after insert on auth.users
  for each row execute procedure public.handle_new_user();
For a real project, you want this trigger to be well-tested because if it fails it could block the user sign ups.
Create a new Next.js Project:
To avoid writing boilerplate code you can use the project that we wrote in the previous post, but if you didn't follow that one, you can just clone the repo (clone the main branch).
Install Dependencies.
npm i next-shield @supabase/supabase-js valtio
Change the styles.
Replace the code under styles/globals.css with:
* {
  box-sizing: border-box;
}

html,
body {
  padding: 0;
  margin: 0;
  font-family: -apple-system, BlinkMacSystemFont, Segoe UI, Roboto, Oxygen, Ubuntu,
    Cantarell, Fira Sans, Droid Sans, Helvetica Neue, sans-serif;
  background-color: black;
  color: white;
}

nav {
  display: flex;
  flex-direction: column;
}

@media (min-width: 768px) {
  nav {
    flex-direction: row;
    justify-content: space-evenly;
  }
}

a {
  display: block;
  text-align: center;
  text-decoration: none;
  color: white;
  padding: 1rem;
  transition: all ease-in-out 0.3s;
}

a:hover {
  color: black;
  background-color: #3cce8d;
}

button {
  padding: 0.5rem 1rem;
  margin: 0.5rem;
  cursor: pointer;
  background-color: white;
  color: black;
  border: none;
  font-weight: 700;
  font-size: 1.2rem;
  transition: all ease-in-out 0.3s;
}

button:hover {
  background-color: #3cce8d;
}

.center {
  height: 40vh;
  display: grid;
  place-items: center;
  text-align: center;
}

@media (min-width: 768px) {
  .center {
    height: 90vh;
  }
}

.loading {
  margin: 40vh auto;
}
Setup Supabase in Next.js.
Create a file in the root of the project called .env.local with the following values:
NEXT_PUBLIC_SUPABASE_URL=""
NEXT_PUBLIC_SUPABASE_KEY=""
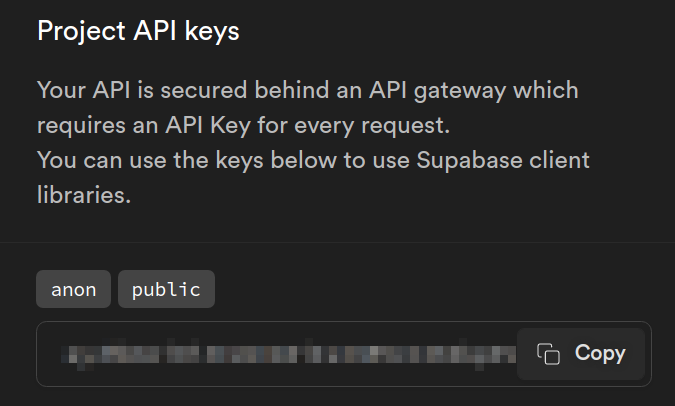
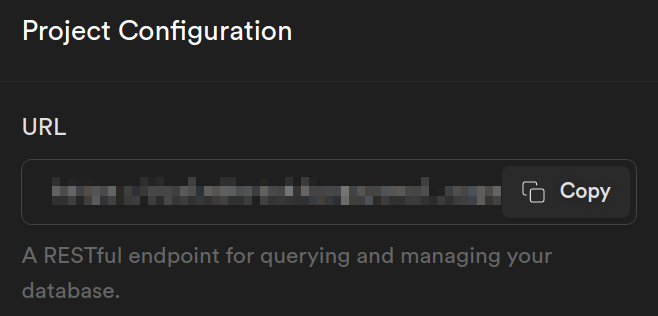
Then go to your supabase project, scroll down and search for those values:
Create a folder called db with the file client.ts:
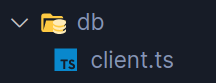
And Initialize the client
import { createClient } from '@supabase/supabase-js'

// Create a single supabase client for interacting with your database
export const supabase = createClient(
  process.env.NEXT_PUBLIC_SUPABASE_URL as string,
  process.env.NEXT_PUBLIC_SUPABASE_KEY as string
)
Supabase Auth Provider.
Supabase gives you a way of having OAuth2 by providing the secret keys of the auth provider that you're using (Google, Twitter, GitHub, etc.), you can use whatever you want in this example even passwordless auth, in my case I used the google provider, to get the keys you can see the following tutorial:
Define the User types.
Go to the file types/User.ts and replace its content with:
export interface UserProfile {
  id: string
  role: string
}

export interface Auth {
  isAuth: boolean
  isLoading: boolean
  user: UserProfile | null | undefined
}

export type AuthStore = {
  updateAuth: (params: Auth) => void
} & Auth
Store.
Create a store folder with an index.ts file:
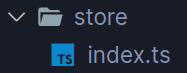
Then we are going to use the valtio state manager for our store, with the following code:
import { proxy } from 'valtio'

import { supabase } from '@/db/client'
import type { AuthStore } from '@/types/User'

export const authStore = proxy<AuthStore>({
  user: undefined,
  isAuth: !!supabase.auth.user(),
  isLoading: false,
  updateAuth({ isAuth, isLoading, user }) {
    authStore.isAuth = isAuth
    authStore.isLoading = isLoading
    authStore.user = user
  },
})
That's it, the main reason for using valtio is the simplicity of usage and the improvements that it has to avoid unnecessary rerenders.
useAuth Hook.
Create a folder called hooks with an auth.ts file:
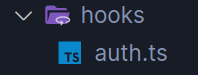
Create a function called useAuth:
export function useAuth() {}
Inside of it use the useSnapshot to access to our store:
const { updateAuth, ...state } = useSnapshot(authStore)
Then define the sign in & out functions:
  const signIn = useCallback(async () => {
    await supabase.auth.signIn({ provider: 'google' })
  }, [])

  const signOut = useCallback(async () => {
    await supabase.auth.signOut()
  }, [])
After that add an useEffect and pass the updateAuth method as the only dependency:
  useEffect(() => {

  }, [updateAuth])
Then create a function called getUserProfile to query the user profile:
const getUserProfile = async () => {
      const { data: profile } = await supabase
        .from<UserProfile>('profiles')
        .select('id, role')
        .single()

      if (profile) {
        updateAuth({
          user: profile,
          isAuth: true,
          isLoading: false,
        })

        return
      }

      updateAuth({
        user: null,
        isAuth: false,
        isLoading: false,
      })
    }
The reason why we are not using a filter to get a specific user is because we already defined in our policies that each user owns their data and nobody else.
After defining this function, execute it to make a request when the component mounts and also execute it inside the onAuthStateChange to request the user's data whenever the auth state changes:
getUserProfile()

const { data } = supabase.auth.onAuthStateChange(() => {
   getUserProfile()
})
And also create a subscription to get realtime data:
const profile = supabase
      .from<UserProfile>('profiles')
      .on('UPDATE', payload => {
        updateAuth({
          user: payload.new,
          isAuth: true,
          isLoading: false,
        })
      })
      .subscribe()
And finally unsubscribe when the component unmounts:
    return () => {
      data?.unsubscribe()
      supabase.removeSubscription(profile)
    }
Then just return the functions that we created alongside the state:
return {
    signIn,
    signOut,
    ...state,
  }
Update the pages.
In dashboard.tsx, users/index.tsx and users/[id].tsx add the sign out:
import { Layout } from '@/components/routes/Layout'
import { useAuth } from '@/hooks/auth'

export default function Dashboard() {
  const { signOut } = useAuth()

  return (
    <Layout title="Dashboard">
      <h1>Dashboard</h1>

      <button onClick={signOut}>Sign Out</button>
    </Layout>
  )
}
Add the sign in to the login.tsx page:
import { Layout } from '@/components/routes/Layout'
import { useAuth } from '@/hooks/auth'

export default function Login() {
  const { signIn } = useAuth()

  return (
    <Layout title="Login">
      <h1>Login</h1>
      <button onClick={signIn}>Sign In</button>
    </Layout>
  )
}
Add the changeRole functionality in the profile.tsx page:
import { useCallback } from 'react'
import { Layout } from '@/components/routes/Layout'
import { supabase } from '@/db/client'
import { useAuth } from '@/hooks/auth'

export default function Profile() {
  const { signOut, user } = useAuth()
  const role = user?.role === 'EMPLOYEE' ? 'ADMIN' : 'EMPLOYEE'

  const changeRole = useCallback(async () => {
    await supabase.from('profiles').update({ role })
  }, [role])

  return (
    <Layout title="Profile">
      <h1>Profile</h1>
      <button onClick={signOut}>Sign Out</button>
      <button onClick={changeRole}>Change my user role to {role}</button>
    </Layout>
  )
}
Add ComponentShield in the pricing page:
import { ComponentShield } from 'next-shield'
import { Layout } from '@/components/routes/Layout'
import { useAuth } from '@/hooks/auth'

export default function Pricing() {
  const { user, isAuth, isLoading } = useAuth()

  return (
    <Layout title="Pricing">
      <h1>Pricing</h1>

      <ComponentShield showIf={isAuth && !isLoading}>
        <p>You are authenticated</p>
      </ComponentShield>
      <ComponentShield RBAC showForRole="ADMIN" userRole={user?.role}>
        <p>You are an ADMIN</p>
      </ComponentShield>
      <ComponentShield RBAC showForRole="EMPLOYEE" userRole={user?.role}>
        <p>You are an EMPLOYEE</p>
      </ComponentShield>
    </Layout>
  )
}
Combine Supabase and NextShield.
Go to the Shield.tsx component, import the useAuth hook, and replace the values.
const { user, isAuth, isLoading } = useAuth()

const shieldProps: NextShieldProps<
    ['/profile', '/dashboard', '/users', '/users/[id]'],
    ['/', '/login']
  > = {
    router,
    isAuth,
    isLoading,
    privateRoutes: ['/profile', '/dashboard', '/users', '/users/[id]'],
    publicRoutes: ['/', '/login'],
    hybridRoutes: ['/pricing'],
    loginRoute: '/login',
    LoadingComponent: <Loading />,
    RBAC: {
      ADMIN: {
        grantedRoutes: ['/dashboard', '/profile', '/users', '/users/[id]'],
        accessRoute: '/dashboard',
      },
      EMPLOYEE: {
        grantedRoutes: ['/profile', '/dashboard'],
        accessRoute: '/profile',
      },
    },
    userRole: user?.role, // Must be undefined when isAuth is false & defined when is true
  }
Result.
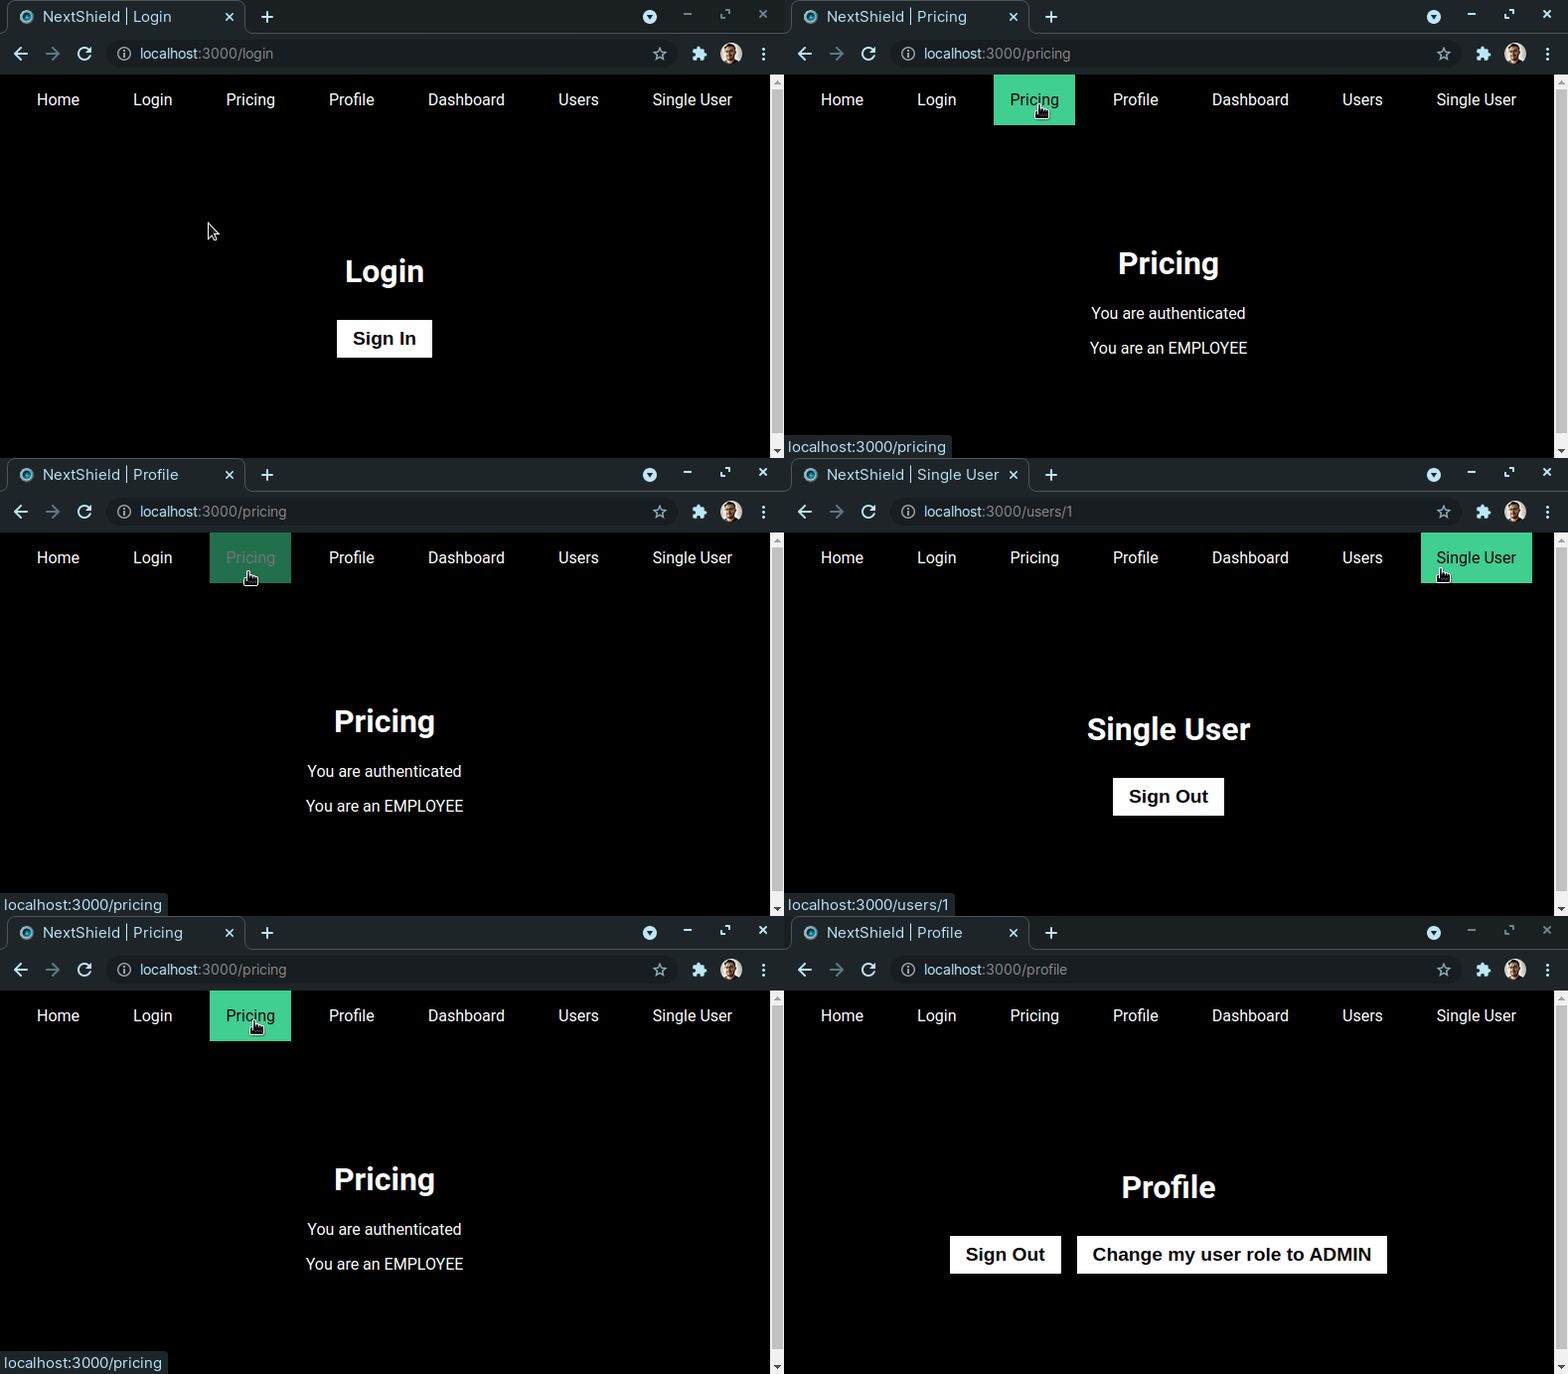
As an unauthenticated user, you only can access public and hybrid routes:
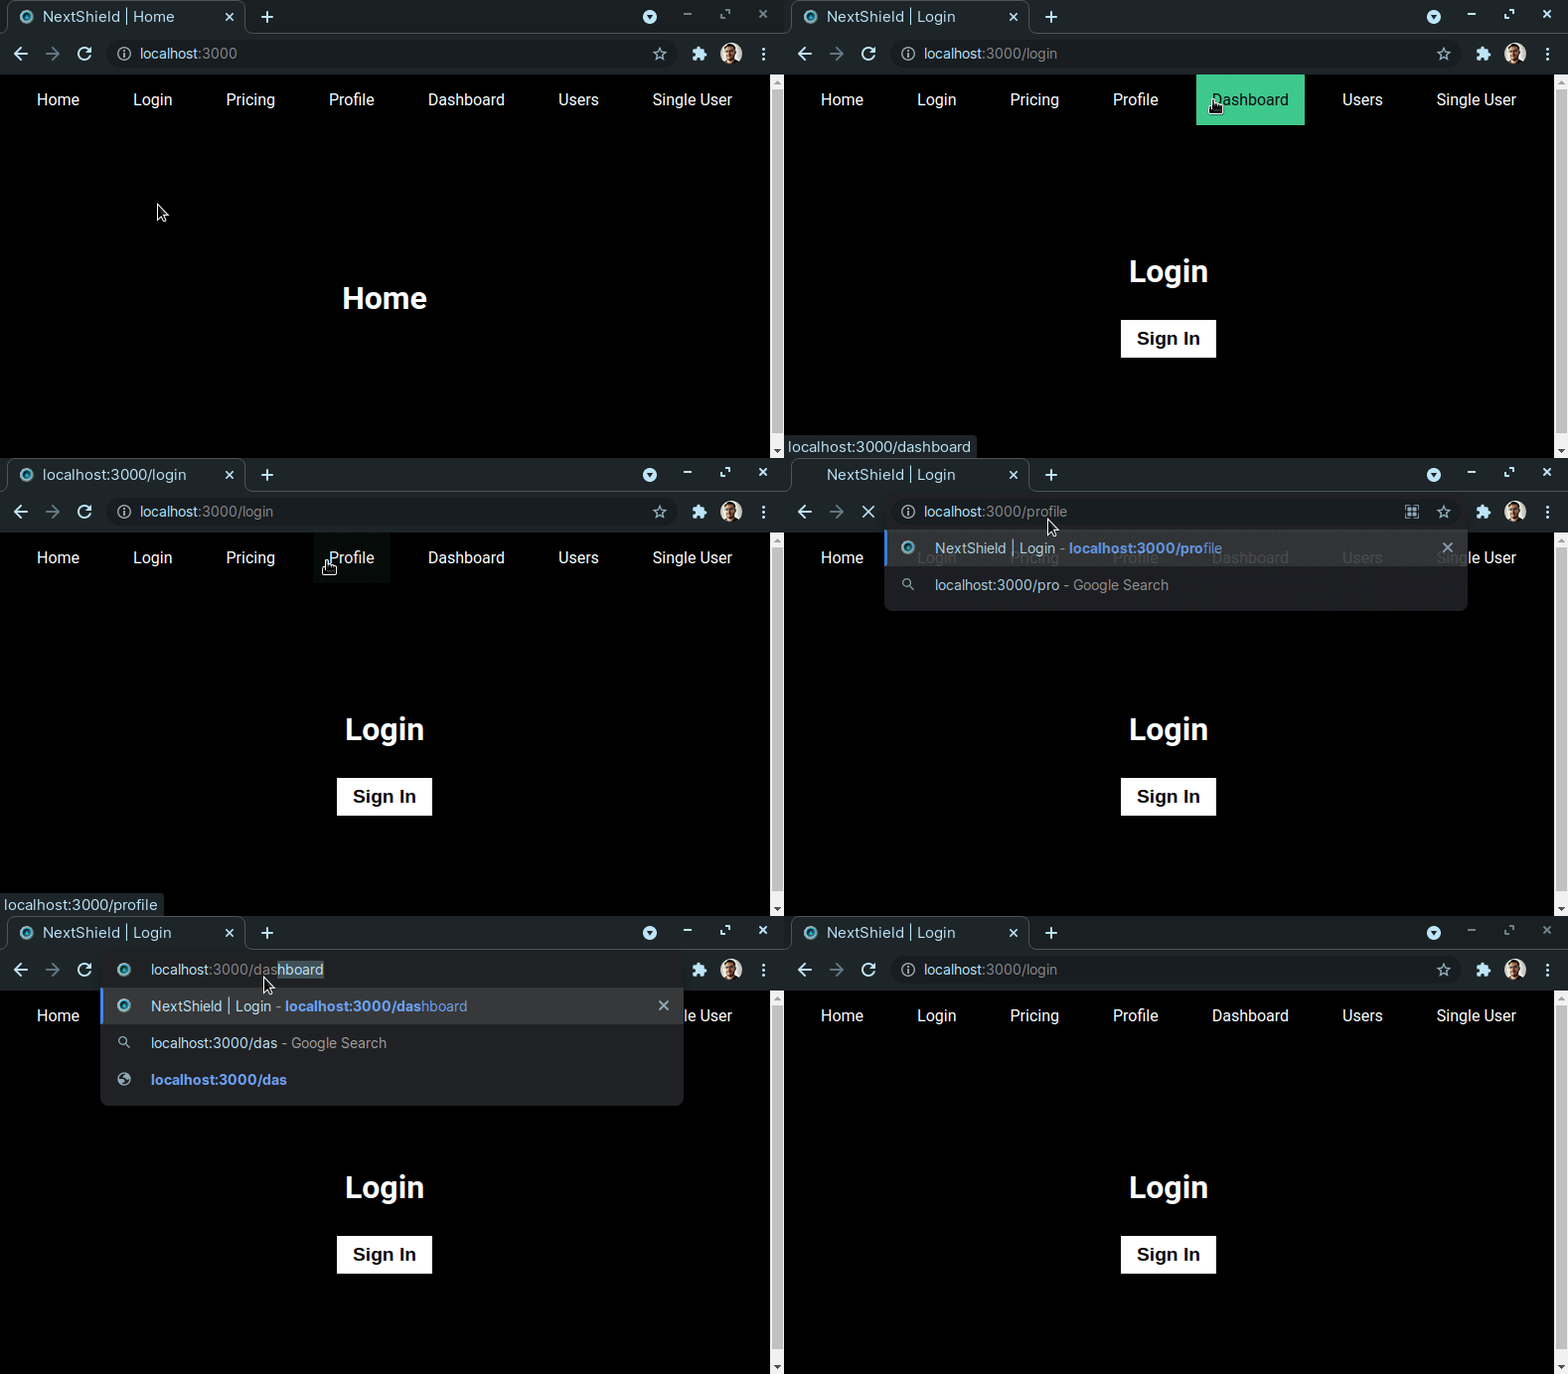
And when you're authenticated, you only can access hybrid and private routes where you have granted access:
That's it, really simple, you can check the github repo to download this example, and also don't forget to read the docs.

Hope you like it, I'm going to publish an example per week with the most popular auth providers (Clerk, Auth0, etc.), so if you don't wanna miss any article please follow me ;D.
See you next time!