# RBAC & Private Routes in Next.js using NextShield
Protecting routes and hiding features whether the **user** is authenticated or authorized is a common thing to do since always but even so in the react world it's quite frustrating; the rerenders that React has, is a behavior easy to understand but hard to master, when you don't have control of it you can get a lot of issues like the **flashy content**:
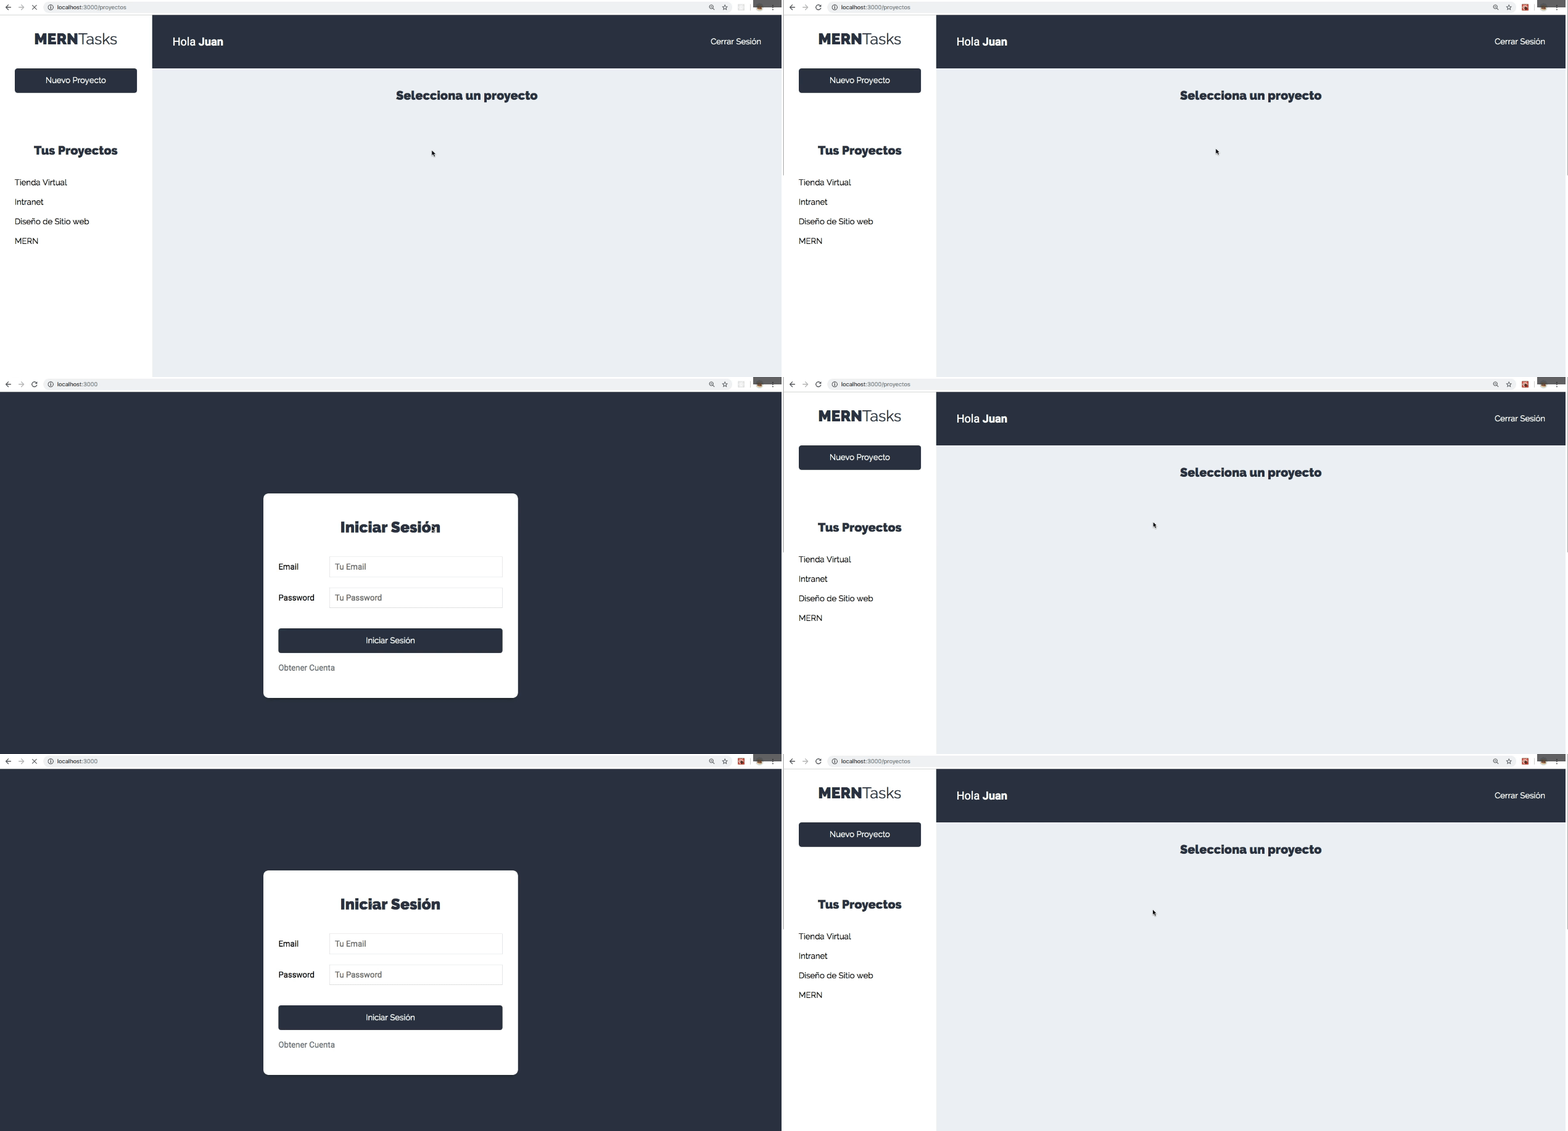
This happens because in the first render React read the auth state as `null` Why? because in the first render the API request was not resolved yet, is until the second render when React has resolved the request making the change to the state, triggering a rerender but now with the data **available**.
In summary, React is reading the state values before they are **available**, getting a [falsy value](https://developer.mozilla.org/en-US/docs/Glossary/Falsy), that's the problem.
How can you solve this? There are many solutions, some people handle that on the frontend and implement a *hacky* way using `windows.location` or on the backend with Next.js using the `getServerSideProps` method on your pages which has a `redirect` property to force a redirect to another page, and as you know is executed before rendering the page, which is perfect, right? Well... yes but actually no.

If your backend server gets frozen the only thing your user is gonna see is a blank page, because of that you can't give any feedback to your user, not even a spinner, the best solution is still on the frontend, so may you ask "how can I implement the hacky solution using `windows.location`?" I don't recommend that also, so what solution do I recommend?
## The Solution.
Frameworks like Laravel or Ruby on Rails have this solved, so why a cutting-edge framework like Next.js has not resolved this yet? Well, maybe we never know it (or maybe there is a reason for it but I didn't realize), but I crafted my own solution called [NextShield](https://imjulianeral.github.io/next-shield/):
### Philosophy.
- Never deal with authorization code again.
- Never hardcode a redirect, let your state handle it for you.
- Easy To Use.
### Features.
- No Flashy Content.
- RBAC.
- Completely Agnostic.
Let's create a simple example to see the API.
## NextShield Example.
- Create a new Next.js app:
```shell
npx create-next-app --ts shield-example
```
- Install NextShield:
```shell
npm i next-shield
```
- Install the spinners:
```shell
npm i react-epic-spinners
```
- Copy the following styles in your styles/globals.css file:
```css
* {
box-sizing: border-box;
}
html,
body {
padding: 0;
margin: 0;
font-family: -apple-system, BlinkMacSystemFont, Segoe UI, Roboto, Oxygen, Ubuntu,
Cantarell, Fira Sans, Droid Sans, Helvetica Neue, sans-serif;
background-color: black;
color: white;
}
nav {
display: flex;
flex-direction: column;
}
@media (min-width: 768px) {
nav {
flex-direction: row;
justify-content: space-evenly;
}
}
a {
display: block;
text-align: center;
text-decoration: none;
color: white;
padding: 1rem;
transition: all ease-in-out 0.3s;
}
a:hover {
color: black;
background-color: white;
}
button {
padding: 0.5rem 1rem;
cursor: pointer;
background-color: white;
color: black;
border: none;
font-weight: 700;
font-size: 1.2rem;
transition: all ease-in-out 0.3s;
}
button:hover {
background-color: #00d1ff;
color: white;
}
.center {
height: 40vh;
display: grid;
place-items: center;
text-align: center;
}
@media (min-width: 768px) {
.center {
height: 90vh;
}
}
.loading {
margin: 40vh auto;
}
```
- Add the following types:
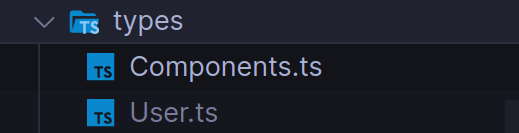
```jsx
// Components.ts
import type { ReactNode } from 'react'
export interface Children {
children: ReactNode
}
export type LayoutProps = {
title: string
} & Children
```
```jsx
// User.ts
export interface Profile {
id: string
name: string
role: string
}
```
- Create the `Nav` Component:
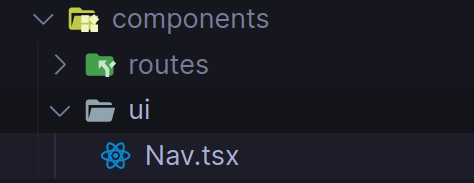
```jsx
import Link from 'next/link'
export function Nav() {
return (
)
}
```
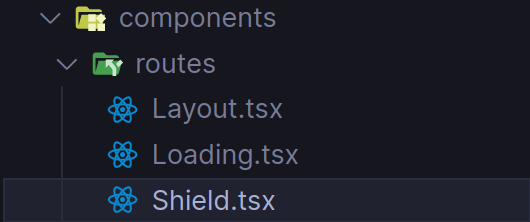
- Add the following components:
```jsx
// Layout.tsx
import Head from 'next/head'
import { LayoutProps } from '@/types/Components'
import { Nav } from '../ui/Nav'
export function Layout({ children, title }: LayoutProps) {
return (
<>
NextShield | {title}
{children}
)
}
```
```jsx
// Loading.tsx
import { BreedingRhombusSpinner } from 'react-epic-spinners'
export function Loading() {
return
}
```
And finally the `NextShield` setup.
### NextShield Setup.
In `Shield.tsx` file import the `useRouter`, the `Loading.tsx` and `next-shield`:
```jsx
import { useRouter } from 'next/router'
import { NextShield, NextShieldProps } from 'next-shield'
import { Children } from '@/types/Components'
import { Loading } from './Loading'
export function Shield({ children }: Children) {
const router = useRouter()
return <>{children}
}
```
Just after the router create an object implementing the `NextShieldProps` called `shieldProps`:
```jsx
const shieldProps: NextShieldProps = {}
```
You need to pass some generics to the type, the first one is an array of the private routes of your application, and the second one is an array with the public routes:
```jsx
const shieldProps: NextShieldProps<
['/profile', '/dashboard', '/users', '/users/[id]'],
['/', '/login']
> = {}
```
Then you need to pass the following **props**:
#### Router.
⇆ Instance of your router.
#### isAuth.
🔑 This value must be provided by the state of your app. Indicates if the user is authenticated or not.
#### isLoading.
⏳ This value must be provided by the state of your app. Indicates if the user's data is already available or not.
#### privateRoutes.
🚧 🚧 🚧 Array of private routes. These are only accessible when the user is authenticated.
#### publicRoutes.
👀 👀 👀 Array of public routes. These are only accessible when the user is **NOT** authenticated.
#### hybridRoutes.
🚦🚦🚦 Array of hybrid routes. These are always accessible; doesn't matter the auth state.
#### loginRoute.
📋 Login page. Must be a public route.
#### accessRoute.
🚧 Route where your user is going to access after login. Must be a private route.
#### LoadingComponent.
🌀 React Component which is going to appear when isLoading equals to true.
These are going to be the values, for this example:
```jsx
const shieldProps: NextShieldProps<
['/profile', '/dashboard', '/users', '/users/[id]'],
['/', '/login']
> = {
router,
isAuth: false,
isLoading: false,
privateRoutes: ['/profile', '/dashboard', '/users', '/users/[id]'],
publicRoutes: ['/', '/login'],
hybridRoutes: ['/pricing'],
loginRoute: '/login',
accessRoute: '/profile'
LoadingComponent: ,
}
```
### Protect the app with NextShield.
Go to the `_app.tsx` file and wrap it with the `Shield` component:
```jsx
import type { AppProps } from 'next/app'
import { Shield } from '@/components/routes/Shield'
import '@/styles/globals.css'
export default function MyApp({ Component, pageProps }: AppProps) {
return (
)
}
```
### Create the routes.
Create the following routes:
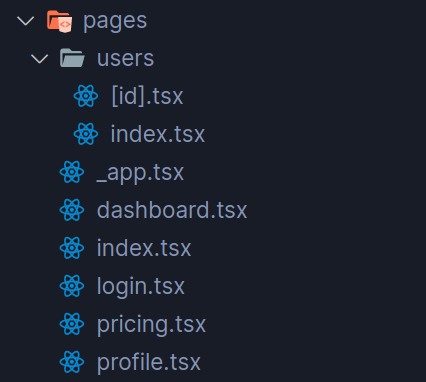
And write in each of them the following content:
```jsx
import { Layout } from '@/components/routes/Layout'
export default function PageName() {
return (
PageName
)
}
```
By now you must have something like this:
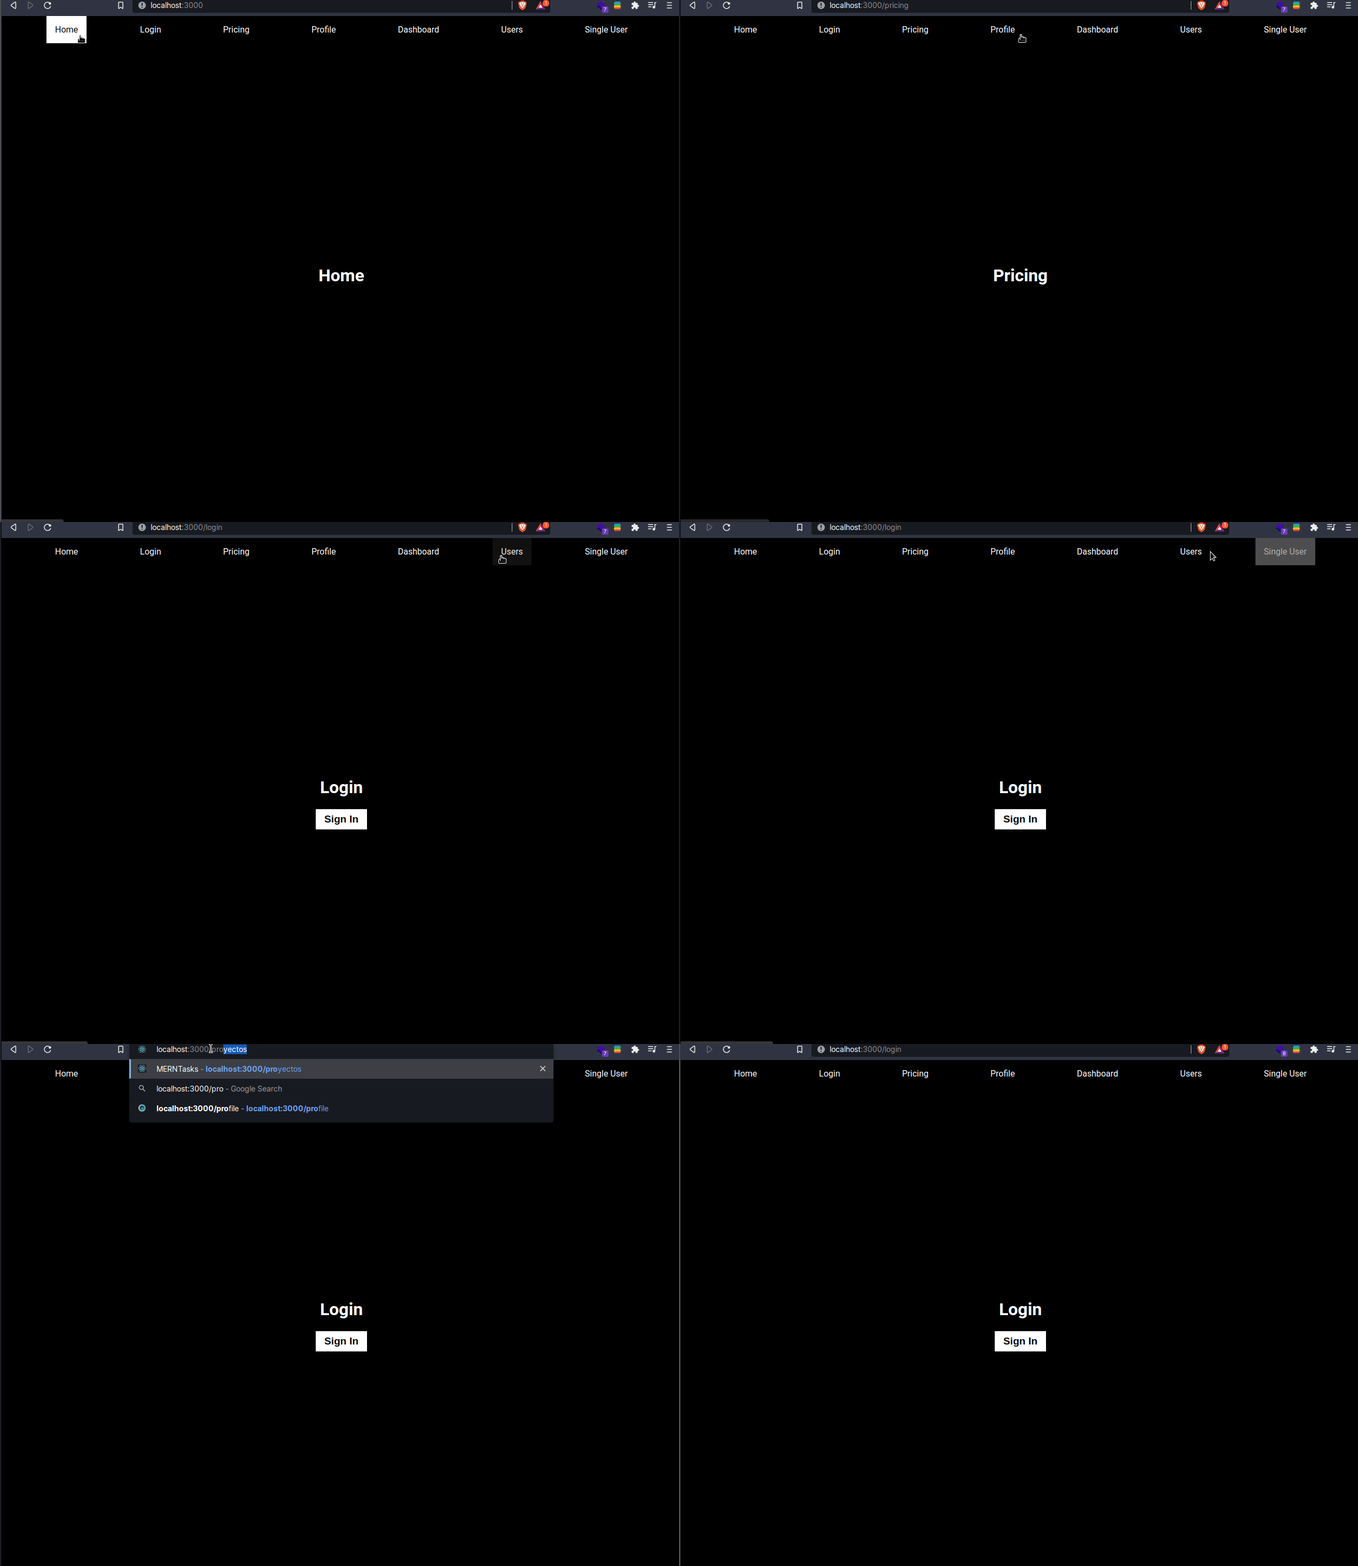
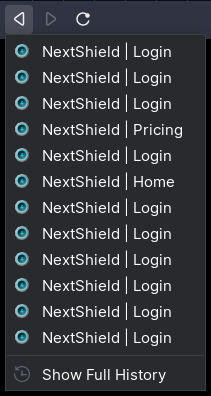
As you can see, you can only access the public & hybrid routes, your private routes are completely protected, Even if you see your history the private routes won't appear:
Now you can play and set `isAuth: true`, you immediately won't be able to access the public routes.

### Add RBAC.
Fine, you just got a simple example with auth users, now let's add something more interesting.
To add RBAC you need to pass the prop called `RBAC` as an object with the following configuration:
```js
RBAC: {
ADMIN: {
grantedRoutes: ['/dashboard', '/profile', '/users', '/users/[id]'],
accessRoute: '/dashboard',
},
EMPLOYEE: {
grantedRoutes: ['/profile', '/dashboard'],
accessRoute: '/profile',
},
},
```
As you can see you define the roles of your app in the object keys, and inside you must define the `grantedRoutes` which is an array with the routes that are going to be accessible for that role, also you must define the `accessRoute` inside of this object **and remove it from outside**.
After that, you must pass the prop called `userRole`, which is the role of the current auth user, this must match with the object keys in `RBAC`, also this prop needs to be undefined when `isAuth` is false and defined when is true.
```js
userRole: 'ADMIN', // Must be undefined when isAuth is false & defined when is true
```
The end result should look like this:
```ts
const shieldProps: NextShieldProps<
['/profile', '/dashboard', '/users', '/users/[id]'],
['/', '/login']
> = {
router,
isAuth: true,
isLoading: false,
privateRoutes: ['/profile', '/dashboard', '/users', '/users/[id]'],
publicRoutes: ['/', '/login'],
hybridRoutes: ['/pricing'],
loginRoute: '/login',
LoadingComponent: ,
RBAC: {
ADMIN: {
grantedRoutes: ['/dashboard', '/profile', '/users', '/users/[id]'],
accessRoute: '/dashboard',
},
EMPLOYEE: {
grantedRoutes: ['/profile', '/dashboard'],
accessRoute: '/profile',
},
},
userRole: 'ADMIN', // Must be undefined when isAuth is false & defined when is true
}
```
And that's it! You will get the same behavior as before:
- Unable to access ungranted routes.
- No trace on your history.
- 0 flashy content, the `LoadingComponent` will always intercept the request before showing the page or redirecting the user.
- Configure everything in one place.

## Next Steps.
1. [Read the docs](https://imjulianeral.github.io/next-shield/).
1. [See the complete example on the repo (main branch)](https://github.com/imjulianeral/nextshield-examples)
1. Use it with your preferred auth provider.
1. Use [ComponentShield](https://imjulianeral.github.io/next-shield/docs/protect-components/ComponentShield) to get more control of what is displayed on the screen.
1. Wait for the following Examples!